
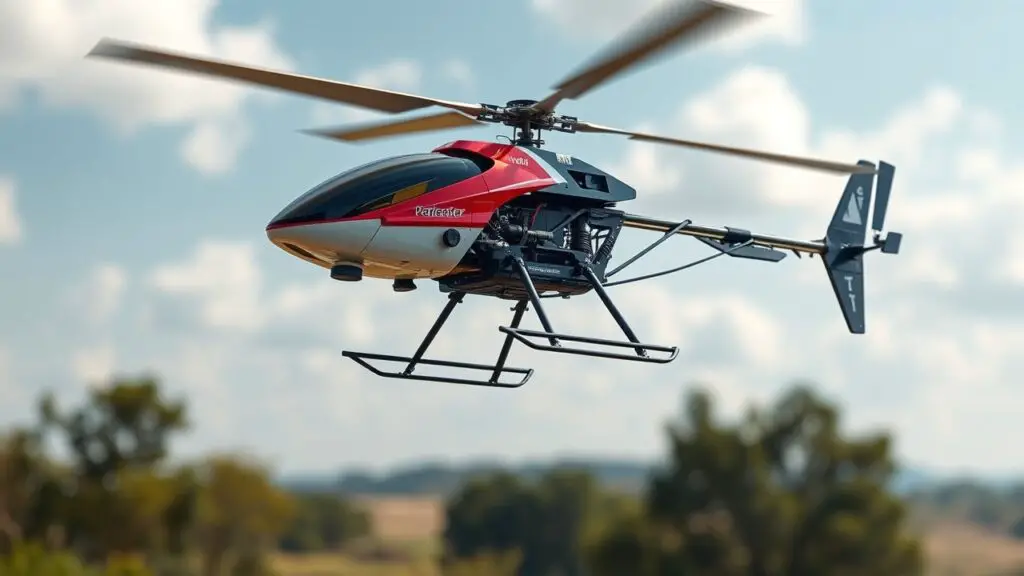
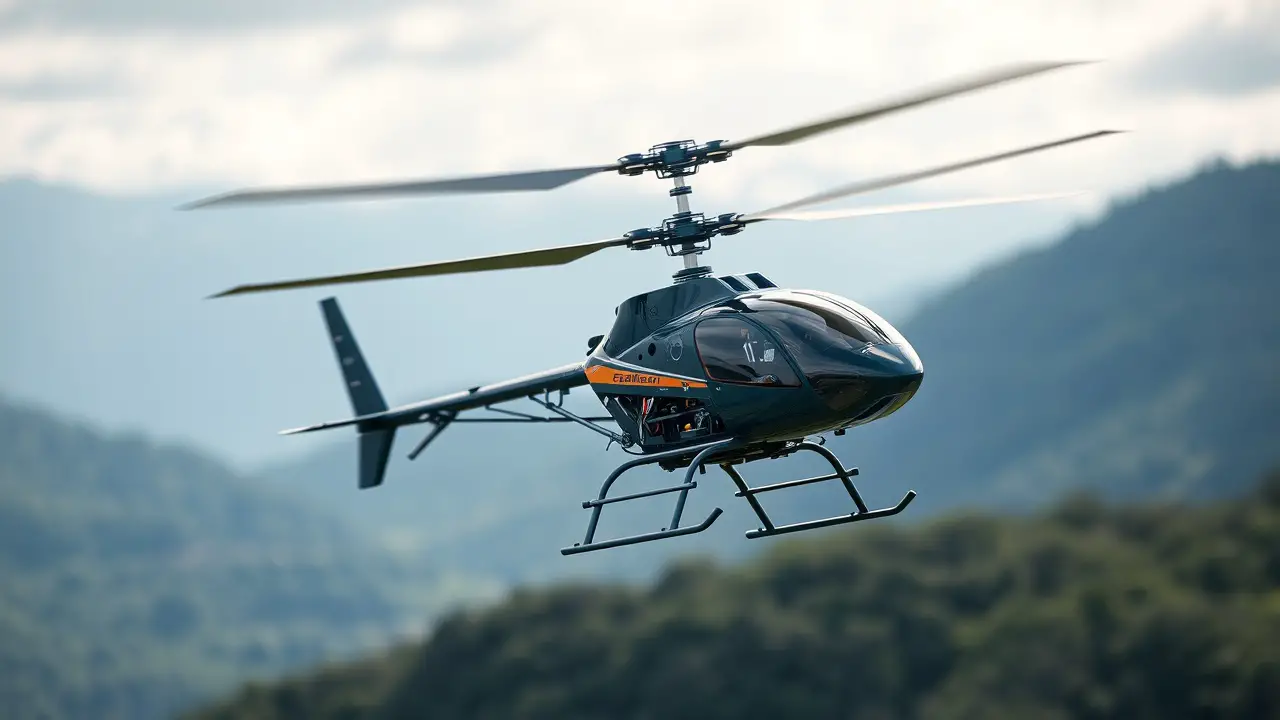
How to build and master your electric helicopter kit. When I first opened my electric helicopter kit, I was greeted by a myriad of parts, each with its own purpose and significance. The main components typically include the airframe, rotor blades, motor, electronic speed controller (ESC), and battery.
Contents
Each piece plays a crucial role in the overall functionality of the helicopter. The airframe serves as the skeleton, providing structure and support, while the rotor blades are essential for lift and maneuverability. Understanding these components is the first step in mastering your helicopter.
As I delved deeper into the kit, I realized that familiarizing myself with the electronic components was equally important. The motor powers the helicopter, converting electrical energy into mechanical energy, while the ESC regulates the power delivered to the motor.
Additionally, the battery is the lifeblood of the helicopter, determining flight time and performance. By grasping how these elements work together, I felt more confident in my ability to assemble and operate my electric helicopter effectively.
Choosing the Right Tools for Assembly
Equipping myself with the right tools was a pivotal moment in my assembly journey. I quickly learned that having a well-organized workspace and the appropriate tools could make all the difference. Essential tools include a small screwdriver set, pliers, a soldering iron for electrical connections, and a heat shrink tubing kit to ensure secure wiring.
I also found that having a pair of tweezers on hand was invaluable for handling tiny screws and components. As I gathered my tools, I made sure to create a clean and clutter-free environment. This not only helped me focus but also minimized the risk of losing small parts during assembly.
I discovered that taking my time to prepare my workspace was just as important as the assembly process itself. With everything in place, I felt ready to tackle the challenge ahead.


Mastering the Basics of Electric Helicopter Flight
Once my electric helicopter was assembled, it was time to take to the skies. I quickly learned that mastering the basics of flight required patience and practice. The first step was understanding how to control the helicopter using the transmitter.
I spent hours familiarizing myself with the controls, learning how to adjust throttle, pitch, and yaw. Each flight was a new opportunity to refine my skills and gain confidence in my abilities. I also discovered that practicing in an open area free from obstacles was crucial for my learning process.
This allowed me to focus on basic maneuvers such as hovering, ascending, and descending without the fear of crashing into something. As I became more comfortable with these fundamental skills, I began to experiment with more advanced maneuvers like forward flight and turns.
Each successful flight boosted my confidence and deepened my appreciation for this exhilarating hobby. For more tips and discussions on electric helicopters, visit HeliFreak.
Troubleshooting Common Issues During Assembly
| Common Issue | Description | Solution |
|---|---|---|
| Parts not fitting together | Parts may be misaligned or not manufactured correctly | Check for any defects in the parts and use tools to adjust alignment |
| Loose or missing screws | Screws may not have been tightened properly or may have been lost | Double check all screws and tighten as needed, replace any missing screws |
| Electrical components not working | Wiring may be incorrect or components may be faulty | Review wiring diagrams and test components, replace any faulty parts |
| Uneven or unstable assembly | Uneven surfaces or incorrect assembly may cause instability | Ensure all parts are assembled correctly and on level ground, use stabilizing tools if necessary |
Despite my best efforts, I encountered several challenges during assembly that required troubleshooting. One common issue I faced was misaligned rotor blades, which could lead to unstable flight. To address this, I carefully checked the alignment and made adjustments as needed, ensuring that both blades were level and balanced.
This attention to detail proved essential for achieving smooth flight performance. Another issue that arose was related to electrical connections. At one point, my helicopter refused to power on, which left me feeling frustrated.
After some investigation, I discovered that a loose wire connection was to blame. By methodically checking each connection and ensuring they were secure, I was able to resolve the problem and get my helicopter back in working order. These troubleshooting experiences taught me valuable lessons about patience and persistence.
Fine-Tuning Your Electric Helicopter for Optimal Performance
With my helicopter assembled and flying, I soon realized that fine-tuning it could significantly enhance its performance. I began by adjusting the pitch of the rotor blades to optimize lift and responsiveness. This involved making small changes and testing them during flight to see how they affected performance.
Each adjustment brought me closer to achieving the ideal balance between stability and agility. Additionally, I explored different battery options to find one that provided longer flight times without compromising weight. By experimenting with various battery capacities and weights, I learned how these factors influenced flight dynamics.
Fine-tuning my electric helicopter became an exciting journey of discovery, as each modification led to improved performance and a deeper understanding of aerodynamics.
Safety Precautions and Best Practices for Building Your Electric Helicopter
Safety should always be a top priority when building and flying an electric helicopter. As I embarked on this journey, I made it a point to familiarize myself with safety precautions. Wearing safety goggles while soldering was essential to protect my eyes from potential sparks or debris.
Additionally, I ensured that my workspace was well-ventilated when working with adhesives or chemicals. When it came time to fly, I adhered to best practices by conducting pre-flight checks before each session.
This included inspecting all components for wear or damage and ensuring that the battery was securely connected. By following these safety measures, I not only protected myself but also extended the lifespan of my electric helicopter.

Conclusion
As I grew more comfortable with flying my electric helicopter, I became eager to explore advanced techniques and upgrades that could elevate my experience even further. One area I focused on was learning aerobatic maneuvers such as flips and rolls.
These tricks required precise control and timing but added an exhilarating dimension to my flying sessions. In addition to honing my skills, I also considered upgrading components for enhanced performance. Investing in a high-quality gyro stabilizer improved stability during flight, making it easier to execute complex maneuvers.
Furthermore, exploring different rotor blade designs allowed me to experiment with varying levels of lift and agility. Each upgrade brought new challenges and rewards, pushing me to continually improve as a pilot while deepening my passion for this incredible hobby.

Leave a Reply