
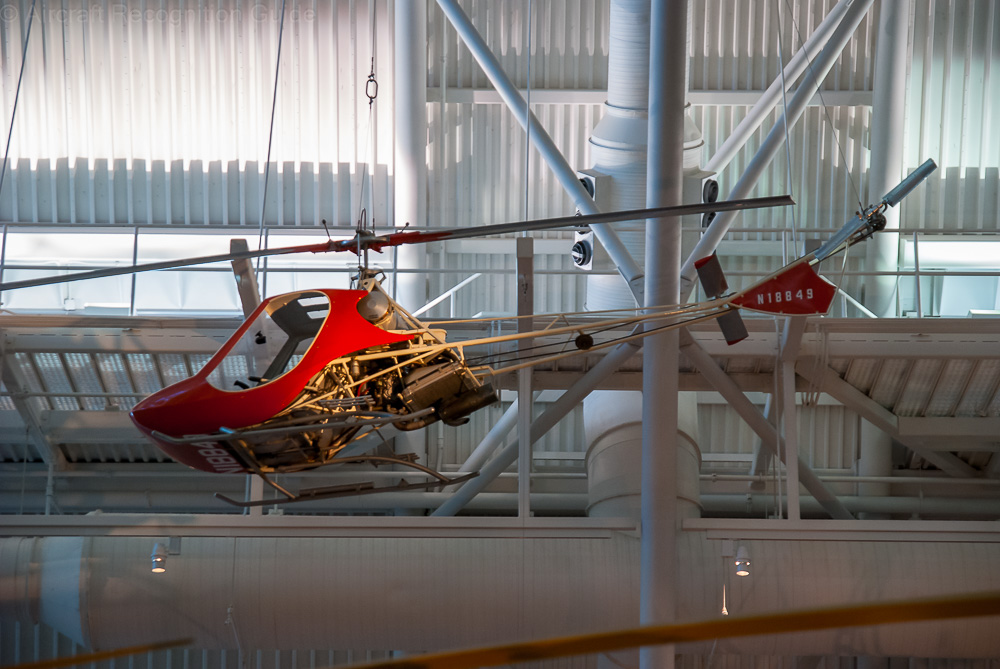
Gyrocopter Drawing – Gyrocopters, also known as autogyros, have a rich history that dates back to the early 20th century. The concept of the gyrocopter was first developed by Spanish engineer Juan de la Cierva in the 1920s.
Contents
De la Cierva’s invention was a breakthrough in aviation technology, as it was the first successful rotorcraft that utilized an unpowered rotor for lift. This innovation paved the way for the development of modern helicopters and other rotorcraft.
During World War II, gyrocopters were used for reconnaissance and observation missions due to their ability to take off and land in confined spaces. After the war, gyrocopters gained popularity as recreational aircraft, and enthusiasts began building and flying their own designs.
Today, gyrocopters are used for a variety of purposes, including aerial photography, agricultural spraying, and even personal transportation. The history of gyrocopters is a testament to human ingenuity and the relentless pursuit of innovation in aviation technology.
Gyrocopters have come a long way since their humble beginnings, and their evolution continues to this day. With advancements in materials and technology, modern gyrocopters are safer, more efficient, and more versatile than ever before. As the demand for sustainable and cost-effective aviation solutions grows, gyrocopters are poised to play an increasingly important role in the future of flight.
How Gyrocopters Work
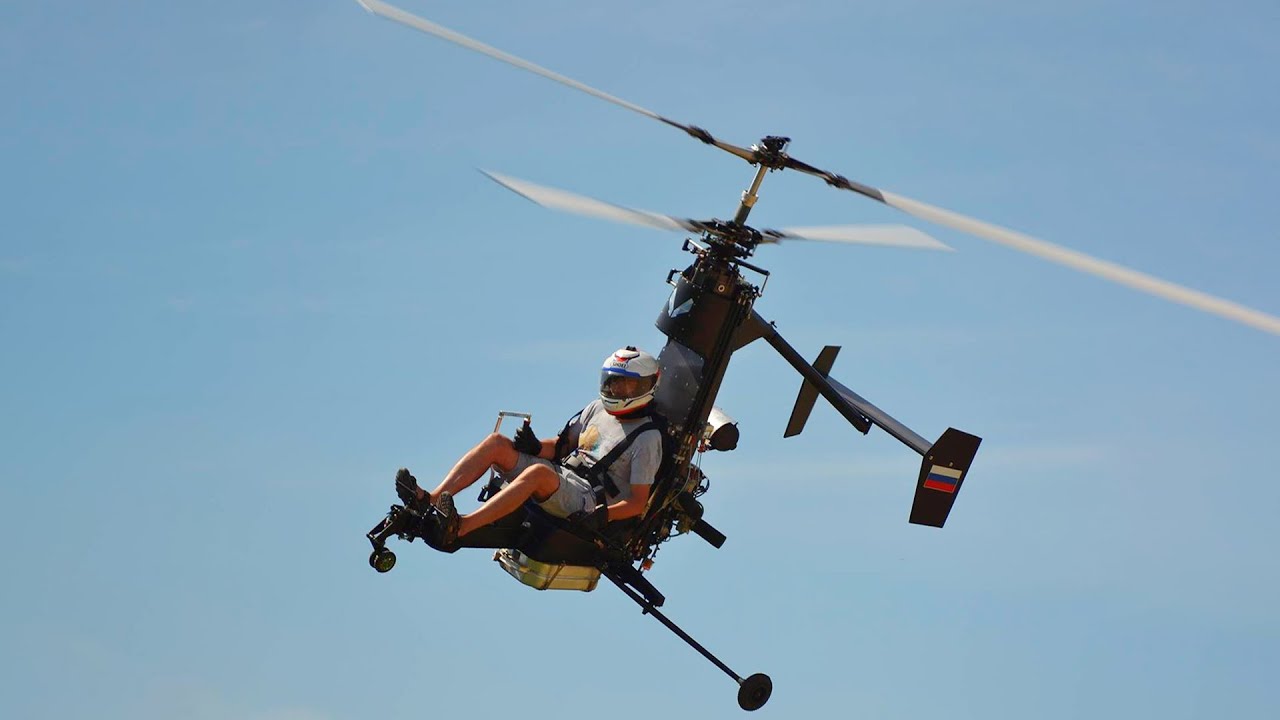
Gyrocopters operate on the principle of autorotation, which allows them to generate lift without the need for a powered rotor. Unlike helicopters, which use an engine to drive their main rotor, gyrocopters rely on forward motion to spin their rotor and generate lift. This unique design gives gyrocopters several advantages, including the ability to take off and land in short distances and operate at lower speeds than traditional fixed-wing aircraft.
The rotor of a gyrocopter is mounted on a mast above the cockpit and is free-spinning, meaning it is not directly connected to the engine. As the gyrocopter moves forward, air flows through the rotor, causing it to spin and generate lift. The engine provides thrust for forward motion, while the rotor provides lift, allowing the gyrocopter to fly.
This combination of lift and thrust gives gyrocopters their distinctive flying characteristics and makes them well-suited for a wide range of applications.
In addition to their unique flight characteristics, gyrocopters are also known for their safety and stability. Because the rotor is unpowered, gyrocopters can safely glide to the ground in the event of an engine failure, making them an attractive option for pilots seeking a reliable and versatile aircraft. With their simple yet effective design, gyrocopters continue to capture the imagination of aviation enthusiasts around the world.

- UNPARALLELED COMFORT: The Bose A30 is a full-sized circumaural aviation headset with a lightweight design and 20% lower …
- PRECISION-FOCUSED NOISE CANCELLING MICROPHONE: The Bose A30’s microphone is engineered for aircraft with “hot mic” or PT…
- FAA TSO and EASA E/TSO-C139a CERTIFIED: The Bose A30’s robust design has passed 145 tests by the Bose engineering and qu…
The Art of Drawing Gyrocopters
Drawing gyrocopters can be a rewarding and enjoyable artistic endeavor. Whether you are an experienced artist or just starting out, capturing the intricate details of these unique aircraft can be a fun and challenging creative exercise. From the sleek lines of the fuselage to the intricate rotor assembly, drawing gyrocopters requires attention to detail and a keen eye for perspective.
One of the most important aspects of drawing gyrocopters is capturing their sense of motion and flight. Unlike static objects, gyrocopters are designed to move through the air with grace and agility. To convey this sense of movement in your drawings, it is important to pay close attention to the positioning of the rotor blades and the overall shape of the aircraft.
By carefully studying reference images and observing real gyrocopters in action, you can gain a better understanding of how these aircraft move through the air and incorporate that dynamic energy into your drawings.
Another key aspect of drawing gyrocopters is capturing their unique design features. From the distinctive shape of the cockpit to the intricate details of the rotor assembly, gyrocopters offer a wealth of visual elements to explore and interpret in your drawings.
By focusing on these details and incorporating them into your artwork, you can create drawings that are both accurate and visually compelling. Whether you prefer a more realistic approach or a stylized interpretation, drawing gyrocopters offers endless opportunities for artistic expression.
Materials and Tools for Drawing Gyrocopters
When it comes to drawing gyrocopters, having the right materials and tools can make all the difference in creating accurate and visually striking artwork. Whether you prefer traditional pencil and paper or digital drawing tools, there are several key items that can help you bring your gyrocopter drawings to life.
For traditional drawing techniques, a good quality set of pencils is essential for capturing the fine details and shading of gyrocopters. A range of pencil grades from 2H to 6B can provide the versatility needed to create both precise lines and subtle shading effects. In addition to pencils, a high-quality eraser is also important for correcting mistakes and refining your drawings.
If you prefer digital drawing tools, a graphics tablet and stylus can provide a versatile and intuitive way to create gyrocopter artwork. With pressure sensitivity and customizable brush settings, digital drawing tools offer a wide range of creative possibilities for capturing the intricate details and dynamic energy of gyrocopters.
In addition to pencils or digital drawing tools, having access to reference images or real-life examples of gyrocopters can be invaluable for creating accurate and realistic artwork. By studying these references and observing the unique design features and flight characteristics of gyrocopters, you can gain a deeper understanding of how to capture their essence in your drawings.

- FITS ANY PILOT: The Ascend Flight Bag is designed to grow with you no matter where you’re at in your aviation career. Ea…
- BALLISTIC NYLON: Lightweight, yet durable ballistic nylon is the centerpiece of Wairworthy flight bags. Our materials pr…
- PREMIUM QUALITY YOU CAN TRUST: Get the same quality you know and love from Wairworthy. All of our flight bags include a …
Step-by-Step Guide to Drawing a Gyrocopter
Drawing a gyrocopter can be a fun and rewarding artistic challenge. Whether you are an experienced artist or just starting out, following a step-by-step guide can help you create accurate and visually striking artwork. By breaking down the drawing process into manageable steps, you can build your skills and confidence as you capture the unique design features and dynamic energy of gyrocopters.
Step 1: Start by sketching the basic shape of the fuselage and cockpit. Use light, loose lines to establish the overall proportions and positioning of the gyrocopter on your paper or digital canvas.
Step 2: Next, add in the details of the rotor assembly. Pay close attention to the positioning of the rotor blades and the supporting structure, as these elements are key to capturing the distinctive look of a gyrocopter.
Step 3: Once you have established the basic shape and details of the gyrocopter, begin adding in finer details such as panel lines, rivets, and other design features. Take your time with this step, as these details can greatly enhance the realism and visual impact of your artwork.
Step 4: After adding in the finer details, focus on shading and adding depth to your drawing. Use a range of pencil grades or digital brush settings to create smooth gradients and subtle shading effects that bring your gyrocopter to life.
Step 5: Finally, refine your drawing by adding any additional details or adjustments needed to capture the unique character and energy of a flying gyrocopter. Take a step back and assess your artwork from different angles to ensure that it accurately conveys the sense of motion and flight that makes gyrocopters so captivating.
By following these steps and taking your time to carefully observe reference images or real-life examples of gyrocopters, you can create artwork that captures the essence of these unique aircraft with accuracy and visual impact.
Tips and Tricks for Drawing Realistic Gyrocopters
Drawing realistic gyrocopters requires attention to detail and an understanding of their unique design features and flight characteristics. Whether you are an experienced artist or just starting out, there are several tips and tricks that can help you create accurate and visually striking artwork that captures the essence of these dynamic aircraft.
One key tip for drawing realistic gyrocopters is to pay close attention to perspective and proportion. Because gyrocopters are designed to move through three-dimensional space with grace and agility, capturing their sense of motion in your drawings requires careful consideration of how different elements relate to each other in space.
By studying reference images or observing real-life examples of gyrocopters from different angles, you can gain a better understanding of how to accurately convey their unique shape and proportions in your artwork.
Another important tip for drawing realistic gyrocopters is to focus on capturing their unique design features with precision and accuracy. From the sleek lines of the fuselage to the intricate details of the rotor assembly, gyrocopters offer a wealth of visual elements that can greatly enhance the realism and visual impact of your artwork.
By taking your time to carefully observe these details and incorporate them into your drawings with precision, you can create artwork that accurately conveys the distinctive look and character of these unique aircraft.
In addition to paying attention to perspective, proportion, and design details, using shading techniques effectively can greatly enhance the realism of your gyrocopter drawings.
By carefully observing how light interacts with different surfaces on a gyrocopter and using a range of pencil grades or digital brush settings to create smooth gradients and subtle shading effects, you can add depth and dimension to your artwork that brings your gyrocopter to life.
Conclusion
Once you have created your gyrocopter drawings, showcasing them in a way that highlights their unique character and visual impact can be a rewarding experience. Whether you prefer traditional methods such as framing your artwork or digital platforms such as social media or online galleries, there are several ways to share your artwork with others and celebrate your creative achievements.
If you prefer traditional methods for showcasing your artwork, framing your gyrocopter drawings can provide a professional presentation that highlights their visual impact. Choose frames that complement the style and character of your artwork while protecting it from damage or deterioration over time. Whether you display your framed artwork in your home or at art exhibitions or shows, framing can provide a polished presentation that draws attention to your creative achievements.
In addition to traditional methods for showcasing artwork, digital platforms offer a wide range of opportunities for sharing your gyrocopter drawings with others. Social media platforms such as Instagram or Facebook provide a convenient way to connect with other artists and aviation enthusiasts who share your passion for gyrocopters. By sharing your artwork online, you can reach a wider audience and receive feedback from others who appreciate your creative talents.
Online galleries or art websites also offer opportunities for showcasing your artwork in a professional context that reaches a global audience. By creating an online portfolio or submitting your artwork to juried exhibitions or competitions, you can gain recognition for your creative achievements while connecting with others who share your passion for aviation art.
Whether you prefer traditional methods such as framing your artwork or digital platforms such as social media or online galleries, showcasing your gyrocopter drawings provides an opportunity to celebrate your creative achievements while connecting with others who share your passion for aviation art.
In conclusion, drawing gyrocopters offers a fun and rewarding artistic challenge that allows you to capture the unique design features and dynamic energy of these fascinating aircraft.
By following a step-by-step guide, using high-quality materials and tools, paying attention to perspective and proportion, capturing design details with precision, using shading techniques effectively, and showcasing your artwork in traditional or digital platforms, you can create accurate and visually striking artwork that celebrates the rich history and innovative spirit of gyrocopters.
Whether you are an experienced artist or just starting out, drawing gyrocopters offers endless opportunities for creative expression that captures the essence of these unique aircraft with accuracy and visual impact.

Leave a Reply