
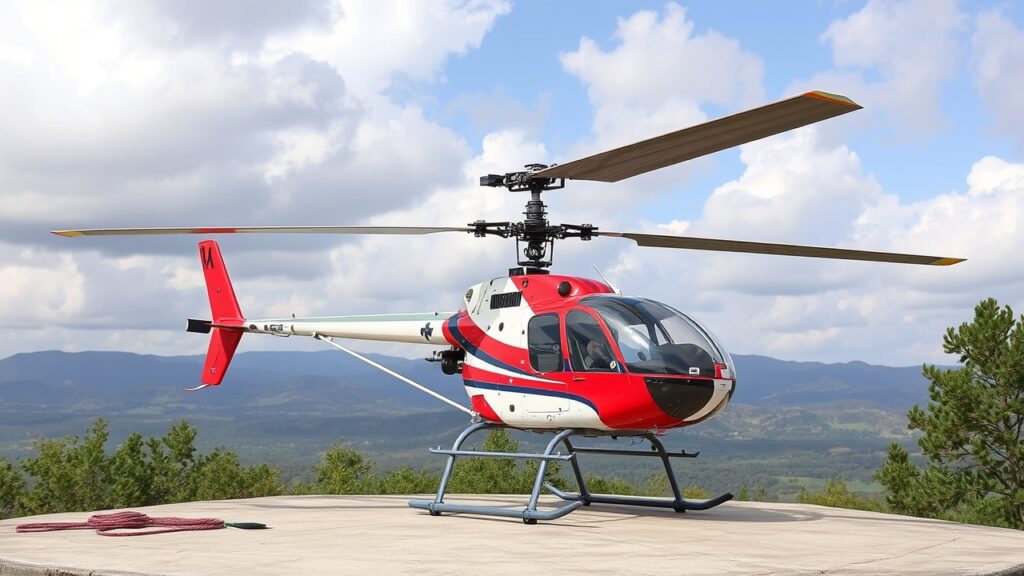
Home built helicopter – Building your own helicopter is a thrilling venture that combines engineering, creativity, and a passion for aviation. The idea of constructing a flying machine from scratch can be both daunting and exhilarating.
For many, the dream of soaring through the skies in a helicopter they built themselves is a lifelong aspiration. With the right knowledge, tools, and determination, this dream can become a reality.
Contents
As I embarked on this journey, I discovered that the process is not just about assembling parts; it’s about understanding the principles of flight and embracing the challenges that come with such an ambitious project. The allure of a homebuilt helicopter lies in its uniqueness and the personal touch that comes with it.
Unlike commercial aircraft, a DIY helicopter can be tailored to your specifications, allowing for customization in design, size, and functionality. However, this journey requires careful planning and a commitment to learning.
From understanding aerodynamics to mastering the intricacies of mechanical systems, each step brings its own set of challenges and rewards. As I delved deeper into the world of helicopter construction, I realized that this endeavor is as much about personal growth as it is about engineering.

Understanding the Basics of Helicopter Construction
Before diving into the construction process, it’s essential to grasp the fundamental principles that govern helicopter flight. Helicopters operate on the principles of lift, thrust, and control, which are achieved through their rotor systems.
The rotor blades generate lift by creating a difference in air pressure above and below them, allowing the helicopter to ascend or descend.
Understanding these concepts is crucial for anyone looking to build their own helicopter, as they form the foundation upon which your design will be built. In addition to lift and thrust, control mechanisms play a vital role in helicopter operation. The cyclic and collective pitch controls allow pilots to maneuver the aircraft effectively.
As I learned more about these systems, I began to appreciate the complexity involved in achieving stable flight. Each component must work harmoniously with others to ensure safety and performance.
This foundational knowledge not only informed my design choices but also instilled a sense of respect for the engineering marvel that is a helicopter.

- UNPARALLELED COMFORT: The Bose A30 is a full-sized circumaural aviation headset with a lightweight design and 20% lower …
- PRECISION-FOCUSED NOISE CANCELLING MICROPHONE: The Bose A30’s microphone is engineered for aircraft with “hot mic” or PT…
- FAA TSO and EASA E/TSO-C139a CERTIFIED: The Bose A30’s robust design has passed 145 tests by the Bose engineering and qu…
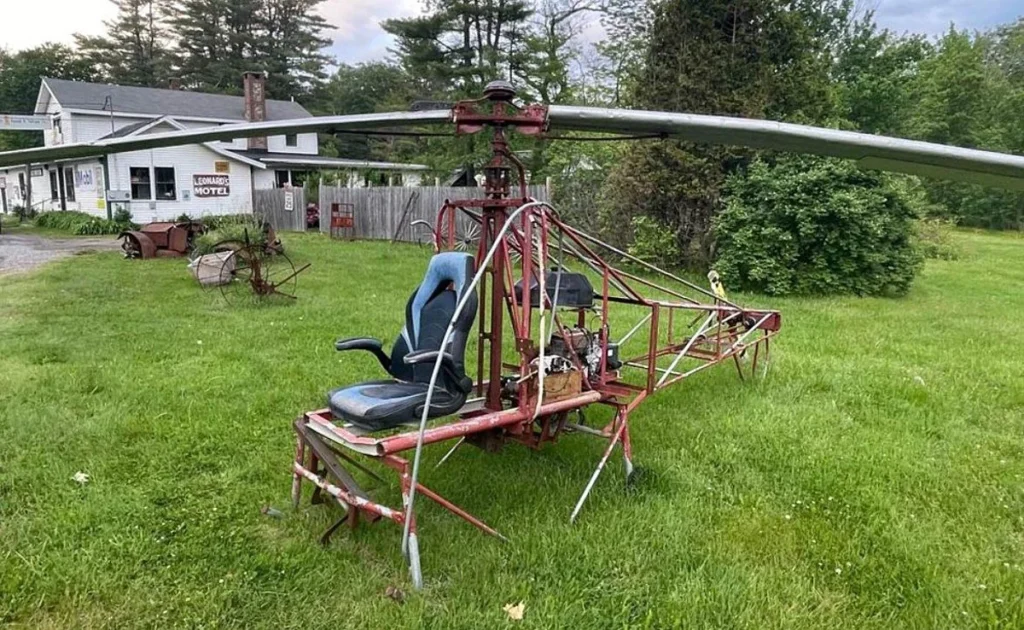
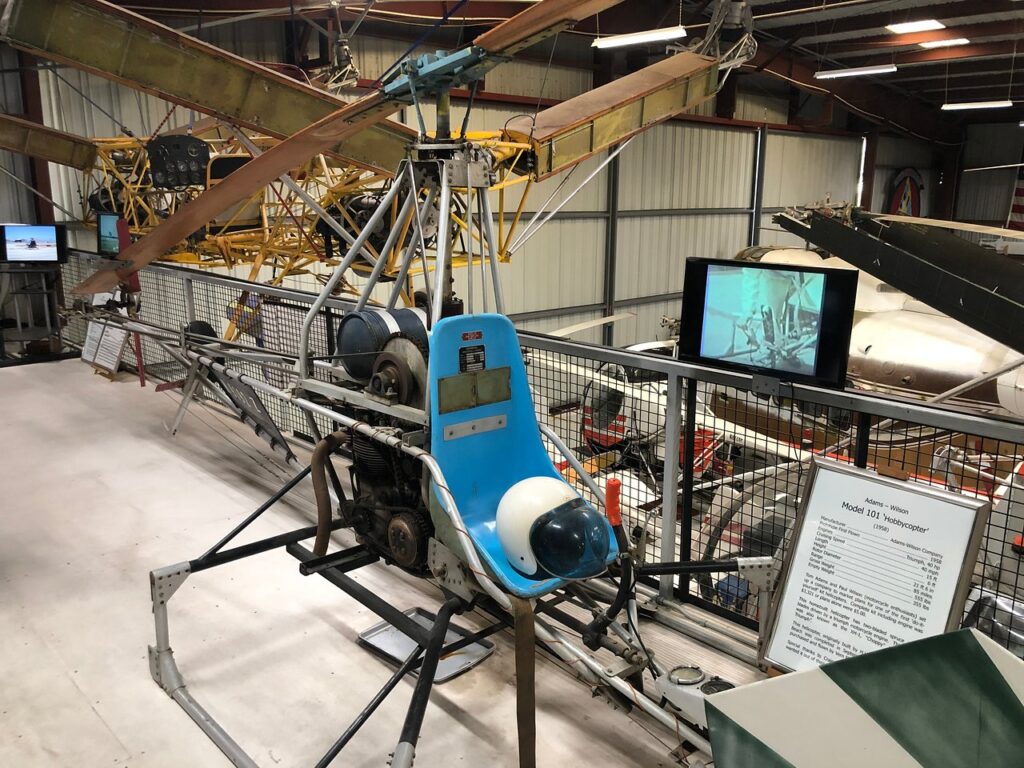
Step-by-Step Guide to Assembling a Homebuilt Helicopter
Once I had a solid understanding of the principles of flight, it was time to embark on the assembly process. The first step involved creating a detailed plan that outlined every aspect of the build, from the frame to the rotor system.
I found that breaking down the project into manageable phases made it less overwhelming. Starting with the airframe, I focused on constructing a sturdy yet lightweight structure that could withstand the stresses of flight.
As I progressed through each phase, I meticulously followed my plan while remaining flexible enough to adapt to unforeseen challenges. The assembly process required precision and attention to detail; every bolt and connection had to be secure to ensure safety during flight.
I also documented my progress through photographs and notes, which proved invaluable for troubleshooting later on. This step-by-step approach not only kept me organized but also allowed me to celebrate small victories along the way. Visit Safari Helicopter
Choosing the Right Materials for Your DIY Helicopter
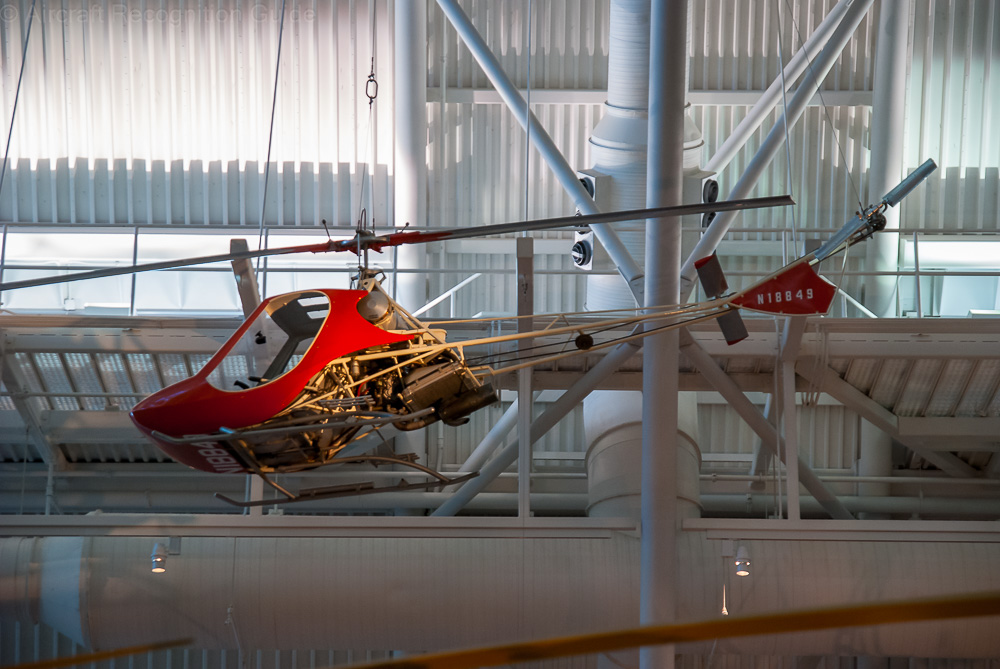
Selecting the appropriate materials for your homebuilt helicopter is crucial for both performance and safety. Lightweight materials such as aluminum and composite fibers are often favored for their strength-to-weight ratios. During my research, I discovered that using high-quality materials can significantly impact the overall efficiency and durability of the helicopter.
I spent considerable time sourcing components that met my specifications while also fitting within my budget. In addition to structural materials, I had to consider components like the rotor blades and engine. Each part plays a critical role in ensuring optimal performance during flight.
I learned that investing in reliable components is essential; cutting corners can lead to catastrophic failures. As I made my selections, I kept in mind not only the immediate needs of my project but also future maintenance and upgrades. This foresight helped me build a helicopter that was not only functional but also adaptable for years to come.

- Premium Comfort: Weighing just 14.9 ounces, this noise canceling aviation headset has a low-profile and tapered performa…
- Carbon Monoxide Sensor: Built-in Kanari smart alert technology measures aircraft cabin carbon monoxide levels and provid…
- Integrated App: Lightspeed’s app smoothly integrates key features CO monitoring, personalized EQ settings, and conversat…
Safety Considerations for Homebuilt Helicopter Projects
Safety is paramount when it comes to building and flying a homebuilt helicopter. Throughout my project, I made it a priority to adhere to safety guidelines and regulations set forth by aviation authorities. This included obtaining necessary permits and ensuring that my design complied with established standards.
I found that being proactive about safety not only protected me but also instilled confidence in those who would eventually fly in my creation. In addition to regulatory compliance, I implemented rigorous testing protocols during the assembly process.
Each component was thoroughly inspected before installation, and I conducted ground tests to ensure everything functioned as intended.
I also sought advice from experienced builders and pilots who shared valuable insights on common pitfalls and best practices. By prioritizing safety at every stage of my project, I was able to create a reliable aircraft that I felt comfortable flying.
Testing and Fine-Tuning Your Homemade Helicopter
With the assembly complete and safety measures in place, it was time for testing and fine-tuning my homemade helicopter. This phase was both exciting and nerve-wracking; it involved rigorous ground tests followed by cautious flight trials.
Initially, I focused on checking all systems while on the ground—ensuring that controls responded correctly and that there were no mechanical issues before taking to the skies.
Once I felt confident in my ground tests, I scheduled my first flight test with meticulous planning. Each flight was approached with caution; I made incremental adjustments based on performance feedback.
Fine-tuning involved tweaking rotor pitch settings and adjusting weight distribution to achieve optimal balance and control. This iterative process taught me invaluable lessons about responsiveness and stability in flight, ultimately leading to a more refined flying experience.
Conclusion
The moment of truth arrived when it was time for my homebuilt helicopter’s maiden flight. A mix of excitement and apprehension coursed through me as I prepared for takeoff. With everything meticulously checked and double-checked, I climbed into the cockpit, heart racing at the thought of finally realizing my dream.
As I engaged the rotors and felt the familiar hum of power beneath me, I knew all my hard work had led to this moment. As I lifted off the ground for the first time, an overwhelming sense of accomplishment washed over me. The helicopter responded beautifully to my controls, gliding smoothly into the air as if it had been designed for this very purpose.
Each maneuver felt exhilarating as I navigated through the skies, reveling in the freedom that only flight can provide. That maiden flight was not just a personal triumph; it was a testament to perseverance, creativity, and the joy of building something truly unique from scratch.

- Super Soft, Double Foam Head Pad
- New Comfort gel, undercut ear seals
- Universal Flex Boom for perfect microphone placement
Leave a Reply