If you’re captivated by the thrill of personal aviation and are considering taking to the skies in your own craft, building a coaxial helicopter kit may be the adventure you’re looking for.
This detailed guide will walk you through everything from the fundamental aspects to the nitty-gritty details of assembling your own coaxial rotorcraft.
Contents
Crafting the Skies with a Coaxial Helicopter Kit
Have you ever envisioned taking flight in a helicopter of your own making? The idea is not as far-fetched as it may seem. With a comprehensive coaxial helicopter kit, the endeavor of creating and flying your helicopter is exhilarating and achievable.
This guide aims to bridge the gap between dream and reality for aviation enthusiasts, detailing the path to building a personal coaxial helicopter.

What is a Coaxial Helicopter?
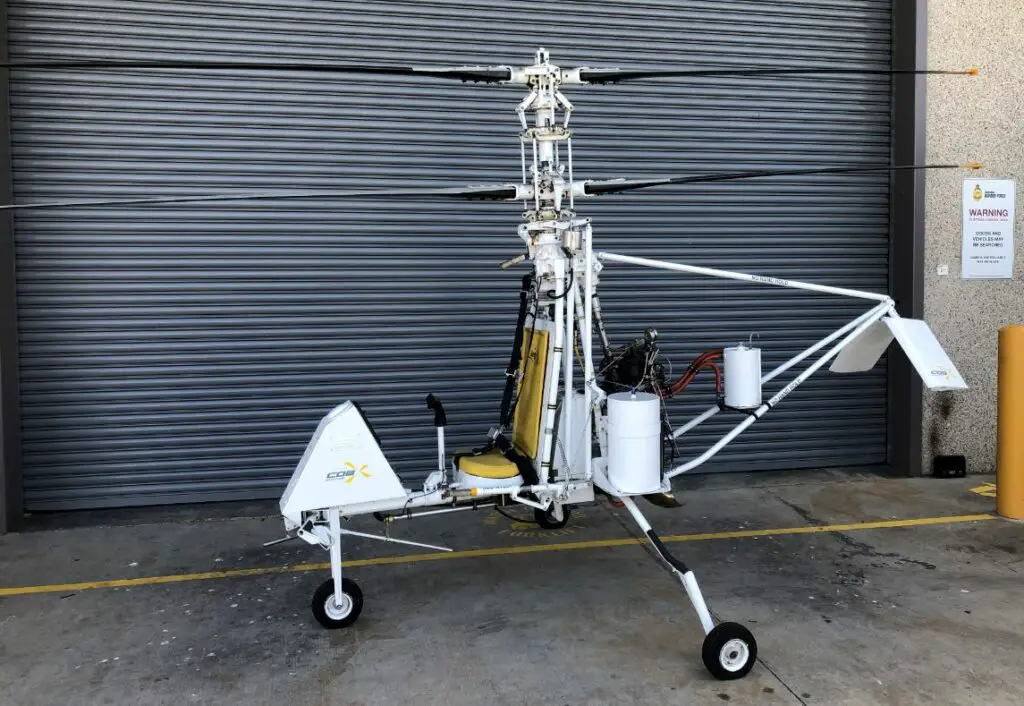
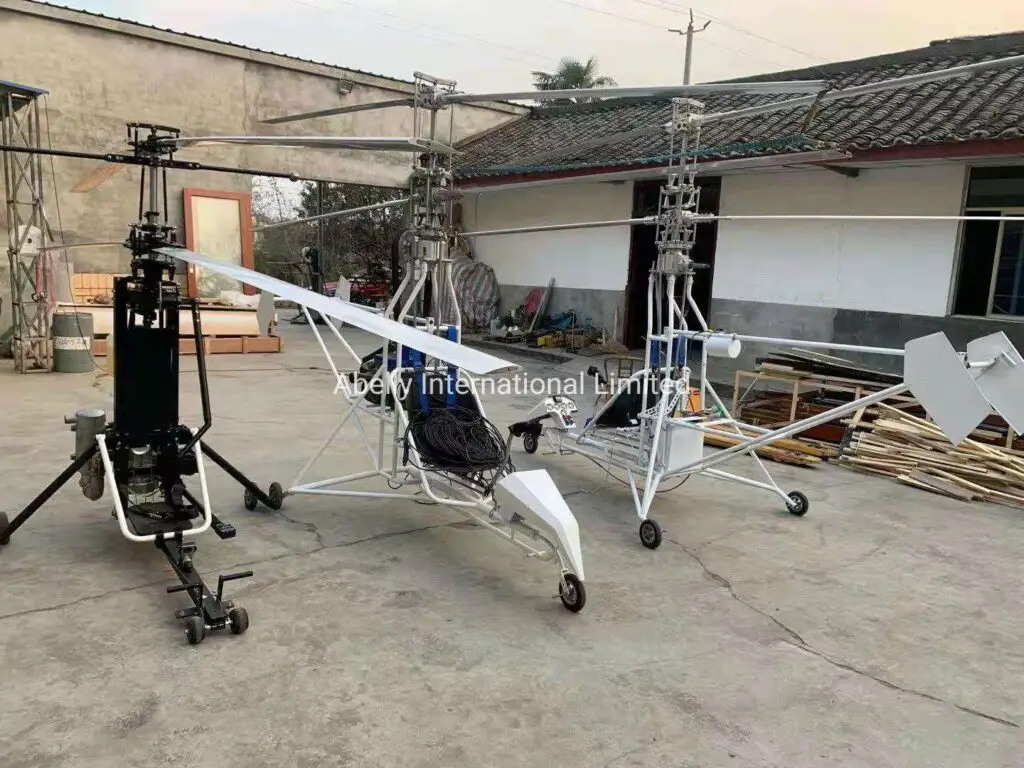
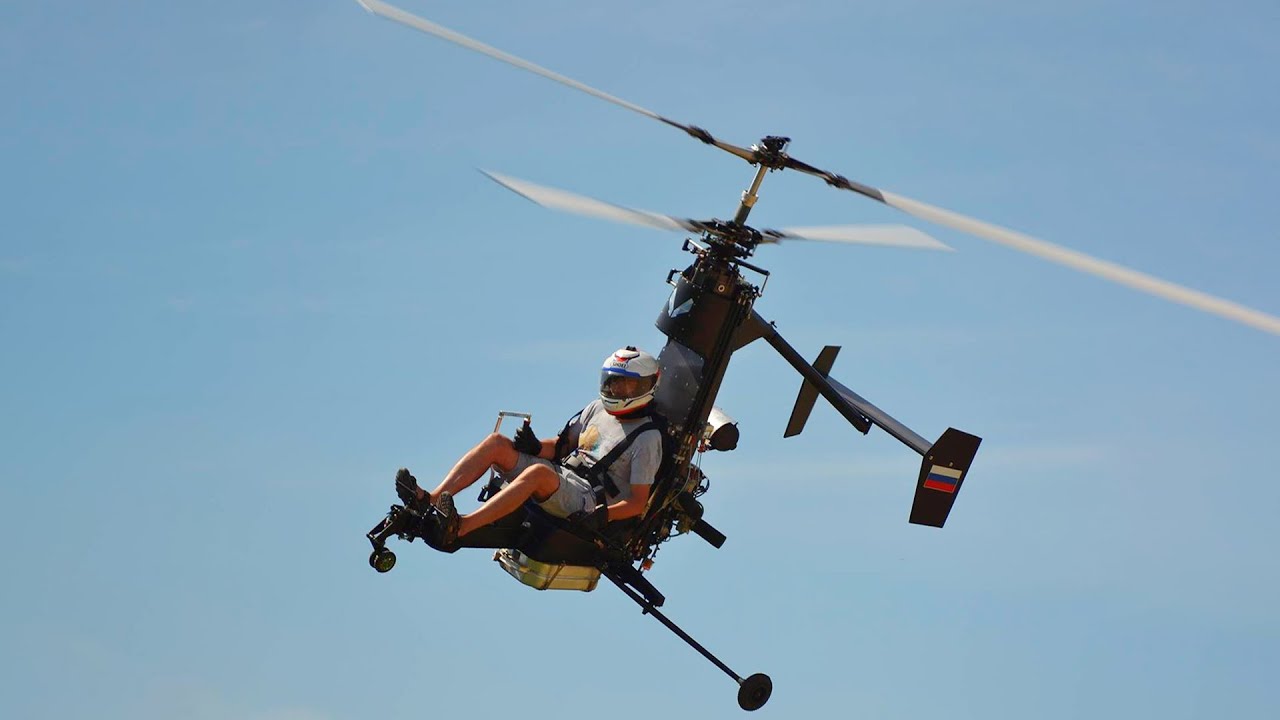
A coaxial helicopter kit features two main rotors stacked one on top of the other, rotating in opposite directions. This design negates the need for a tail rotor, which counteracts torque in traditional single-rotor helicopters.
Historically, the coaxial design was patented by Mikhail Lomonosov in the mid-1700s and saw various implementations over the decades.
Today, it offers improved stability, increased payload capacity, and compactness, as there’s no protruding tail rotor. It’s preferred for its enhanced maneuverability and efficiency.
Anatomy of a Coaxial Helicopter Kit
When unpacking a coaxial helicopter kit, one may find:
- Airframe Kits: The skeleton of the helicopter, usually crafted from aluminum, carbon fiber, or titanium.
- Rotor Blades: For the top and bottom rotors, often made of composite materials for strength and flexibility.
- Flight Control Systems: Including cyclic and collective controls, as well as anti-torque pedals.
- Engine Kit: Normally a piston or turbine engine, complete with mounting hardware.
- Avionics Package: Basic instruments required for flight, like altimeters and communication radios.
- Assembly Manuals: Detailed instructions and blueprints for the construction process.
Purchase Considerations for Your Coaxial Rotorcraft
Before committing to a coaxial helicopter kit, ponder the following:
- Skill Level: Are you an experienced craftsman or a beginner? Kits range from almost complete to requiring comprehensive work.
- Budget: Costs can vary immensely. Factor in not just the kit price, but tools, additional parts, and hangar fees.
- Intent: Some kits cater to hobbyists, while others are built for specific functions like aerial photography or agricultural use.
Other ultralight single person helicopter not coaxial anyway including brands and prices you can check right now.
| Brand | Model | Price (USD) |
|---|---|---|
| Mosquito Helicopters | XE Single Seat | $35,000 – $45,000 |
| Revolution Helicopter | Mini-500 | $25,000 – $35,000 |
| Carter Aviation | CarterCopter | $100,000 – $150,000 |
| Syton Helicopters | Syton AH130 | $60,000 – $80,000 |
Coaxial Design Prowess
Here, we delve into what sets the coaxial helicopter kit apart:
- Efficiency: The counter-rotational blades cancel out each other’s torque, negating the need for a tail rotor and resulting in fuel savings.
- Material Science: Modern coaxial helicopters often involve composite materials that provide strength with reduced weight.
- Innovation: Current kit designs take inspiration from high-performance military and civil coaxial helicopters, incorporating sophisticated flight advancements.
The Builder’s Forge: Assembling your Kit
Building a helicopter from a kit is meticulous and requires precision. Steps include:
- Preparing tools and space.
- Assembling the airframe, starting with fuselage, then attaching the rotor masts and rotor blades.
- Wiring the electrical systems and installing the engine.
- Mounting avionics and calibrating instruments.
Each step demands careful attention to the manuals provided, ensuring safety and functionality. Building a coaxial helicopter kit is a complex task that requires knowledge, skill, and precision.
The following table provides a detailed guide for assembling a 1-person pilot coaxial helicopter from a kit, assuming that you already have a complete kit and the necessary tools.
Note that the specific steps and parts may vary depending on the manufacturer and model of the kit. Always refer to the manufacturer’s manual for the most accurate information.
| Step | Task Description | Tools/Equipment | Tips/Instructions |
|---|---|---|---|
| Step 1 | Unpack Kit and Inventory Components | Inventory Sheet | Confirm all parts are present and undamaged, organize parts for accessibility. |
| Step 2 | Frame Assembly | Screwdrivers, Wrenches | Follow kit instructions to assemble the frame, ensuring all bolts are secure. |
| Step 3 | Landing Gear Installation | Wrenches, Pliers | Attach the landing gear to the frame; make sure it is level and secure. |
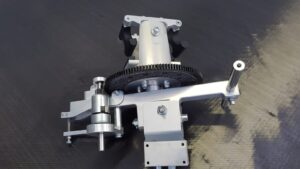
| Step 4 | Drive System Assembly | Various tools | Assemble the main drive system, including gears, shafts, bearings, and rotors. |
Engine Choices: The Heart of Your Helicopter
Choosing an engine involves balancing power and efficiency. While piston engines are common and boast reliability, turbine engines are known for their high power-to-weight ratio but at a higher fuel cost.
Innovative builders may also explore hybrid power systems with electric motors for a greener footprint. Most commonly used is the piston engine from rotax 583 and some other types.
Below is a table that shows a list of engines that may be commonly used, starting from the Rotax 582, as the Rotax 583 is primarily an engine used for snowmobiles and ultralight home built helicopters, gurocopters and coaxial helicopters.
| Engine Model | Manufacturer | Type | Power Output | Common Applications |
|---|---|---|---|---|
| Rotax 582 | Rotax | Two-stroke | 65 HP | Light aircraft, ultralight helicopters |
| Rotax 912 | Rotax | Four-stroke | 80-115 HP | Homebuilt aircraft, ultralight helicopters |
| Rotax 914 | Rotax | Four-stroke, turbocharged | 115 HP | High-altitude flight, light sport aircraft |
| Jabiru 2200 | Jabiru | Four-stroke | 85 HP | Light aircraft, sport aircraft |
| Subaru EA81 | Subaru | Four-stroke | 75HP | Light aircraft, sport aircraft |
Safety Above All: Pre-Flight Protocols
Before taking off:
- Perform a detailed inspection, checking for fuel leaks, loose bolts, and structural integrity.
- Ensure each rotor blade is perfectly balanced to prevent excessive vibrations and potential damage.
- Run through a meticulous series of ground tests, increasing in intensity and complexity.
Flight Legality: Navigating Airspace Regulations
Building and flying a coaxial helicopter involves legal considerations. In the U.S., the FAA mandates specific certifications for homebuilt aircraft and routine inspections.
Additionally, builders should be aware of the airspace regulations where they intend to fly and the need for airworthiness certificates.
The Pilot’s Path: Licensing for Coaxial Helicopter Pilots
Operating any aircraft requires a proper license. For coaxial helicopters, this might mean:
- Acquiring a Recreational Pilot Certificate or a Sport Pilot License, depending on the craft’s weight and intended use.
- Undergoing sufficient training, including ground school to understand the principles of flight and in-air training to master helicopter controls.
Beyond Basic: Customizing Your Craft
Once your coaxial helicopter is airborne, customization possibilities are endless. Advanced avionics from GPS navigation systems to autopilots can enhance the flying experience.
Consider applying a custom paint job or adding a unique cargo pod for personality and functionality.
Upkeep Essentials: Maintenance for Longevity
Ensuring the longevity of your coaxial helicopter kit requires a comprehensive maintenance routine. Here are some guidelines to follow:
Regular Inspection
- Before and after every flight, perform a visual check for any signs of wear or damage.
- Check the security of all screws and bolts.
- Look for any loose connections or components that might need tightening or replacement.
Rotor Blades
- Inspect the rotor blades for any nicks, cracks, or bends.
- Ensure the blades are properly balanced to avoid unnecessary vibration and stress on the motors.
Motors and Gears
- Listen for any unusual sounds coming from the motors or gears, indicating wear or a need for lubrication.
- Clean any debris from the gears and apply appropriate lubricants regularly.
Battery Maintenance
- Use and charge batteries according to the manufacturer’s instructions to maximize their lifespan.
- Store batteries in a cool, dry place and check them periodically for any signs of swelling or damage.
Electronic Components
- Protect the receiver, gyro, and servos from dust and moisture.
- Check all connections and wiring for signs of fraying or corrosion.
Software Updates
- Keep the helicopter’s software updated to ensure you have the latest features and bug fixes.
Storage
- Store your helicopter in a dry, temperature-controlled environment.
- Avoid placing any objects on top of the helicopter to prevent bending or damaging the rotor blades.
Professional Servicing
- If you are not comfortable with conducting any part of the maintenance yourself, don’t hesitate to consult with a professional.
- Regular professional inspections can help catch issues you might miss.
By following these steps, you can maintain the optimal performance of your coaxial helicopter and enjoy its use for a longer period.
Remember, consistent maintenance is key to avoiding costly repairs or replacements and ensuring the safety of your flights.
Addressing problems early on can prevent costly repairs down the line and keep the helicopter in top shape.
Community Wings: Resources and Support
Building a coaxial helicopter kit is not a solitary endeavor. Tapping into communities through online forums or local flying clubs can offer invaluable assistance and camaraderie.
Additionally, many coaxial helicopter kit manufacturers offer customer support for technical issues or questions.
Success Stories: From Blueprint to Skyline
Inspirational case studies abound in the world of homebuilt helicopters. Hobbyists and professionals alike have taken coaxial kits and created flying machines that surpass expectations.
These stories serve as motivation for those embarking on their own coaxial helicopter kit building journey. And such stories make you feel strong and stand tall at last success.
Conclusion
By now, the path to assembling your own coaxial helicopter kit is demystified, and you might be closer to realizing the dream of personal aviation.
Cherish every moment of your build, from the first turned wrench to the exhilarating first flight, as you join the ranks of the sky’s most daring and innovative aviators.
Building your own coaxial helicopter is an immense commitment but comes with unparalleled satisfaction. As you embark on this flying endeavor, remember: knowledge, patience, and a sense of adventure is your best fuel. Happy flying!


Leave a Reply